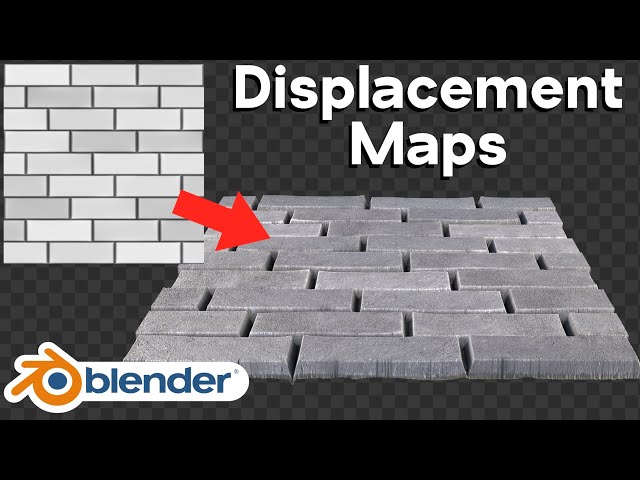
Retopology and baking displacement maps is a tricky task. Luckily Blender is very good at it - but there are a few steps you have to get right first.
In this tutorial we'll walk through a step by step guide to prepare your meshes for reprojection and create and apply a displacement map in both Cycles and Eevee.
Use the code "free" to download the Gremlin model here:
https://gumroad.com/l/QpKVK
Start learning retopology here:
https://www.youtube.com/watch?v=l-sALvdn3FI0:00 Introduction
0:40 Download gremlin assets
1:40 Basic rig included
2:28 Reproject details onto retopologised mesh
3:00 Shrinkwrap settings
4:13 Fixing shrinkwrap errors
7:30 Adding the multires modifier
9:36 Applying the shrinkwrap modifier
10:28 Fixing multires errors
18:38 Rigging and the multires modifier
20:50 UV mapping
22:30 Creating displacement texture
25:26 Displacement map settings
27:35 Baking displacement maps
29:40 Subdiv modifier and adaptive subdivisions
31:17 Connecting the displacement map to the material
37:00 Displacement map recap
37:40 Rendering in Eevee
----------------------------------------------------------------
Want to learn about character design in Blender?
Check out my "Character Design for Production" tutorial series - available on the Blender Market and Gumroad.
Gumroad: https://gumroad.com/l/kYajJ
Blender Market: https://blendermarket.com/products/character-design-for-production
----------------------------------------------------------------
Background music supplied by:
www.bensound.com
#Blender #tutorial #sculpting


115 Comments